How to Draw an Amur Leopard A Step-by-Step Guide for BeginnersThe Amur leopard is one of the rarest and most beautiful big cats in the world. With its thick fur, distinctive black rosettes, and intense gaze, it’s an inspiring subject for artists of all levels. Learning how to draw an Amur leopard not only improves your artistic skills, but also helps you appreciate the uniqueness of this endangered species.
This guide will walk you through each step to draw an Amur leopard, from sketching the basic shape to adding realistic details like fur texture and facial features. You don’t need to be an expert just a pencil, some paper, and a willingness to learn.
What Makes the Amur Leopard Unique
Before picking up your pencil, take a moment to understand what makes the Amur leopard stand out
-
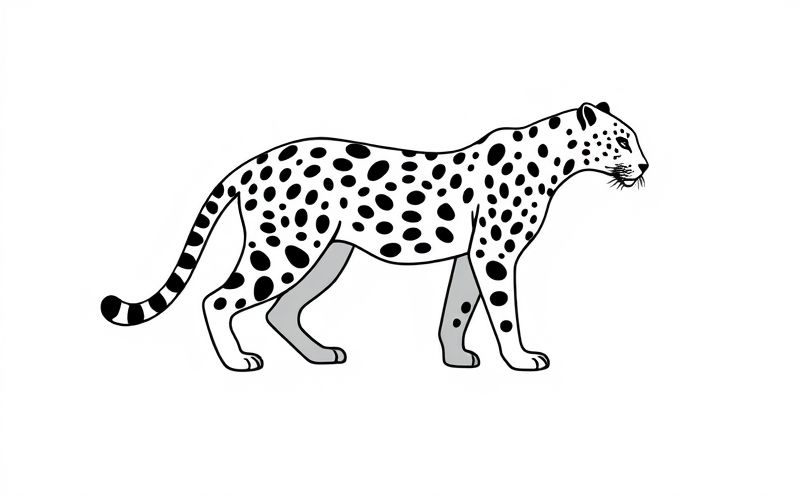
It has thick, pale golden-yellow fur to survive cold climates.
-
Its black spots and rosettes are wide and far apart.
-
It has long legs and a long tail for balance in snowy terrain.
-
Its face is expressive with sharp eyes and a broad nose.
These features will help guide your drawing and make it recognizable as an Amur leopard, not just any leopard.
Materials You’ll Need
To start your drawing, prepare the following basic tools
-
A sketching pencil (HB or 2B)
-
Eraser
-
Drawing paper or sketchpad
-
Black pen or fine-liner (for outlines)
-
Colored pencils or markers (optional for coloring)
You can always add more materials as your skills grow, but these are enough for a strong, clear drawing.
Step 1 Draw the Basic Body Shape
Begin by sketching light shapes to define the overall form
-
Draw a large oval for the body, slightly tilted forward.
-
Add a smaller circle for the head, positioned above and to the right.
-
Connect the two shapes with a curved line for the neck.
-
Sketch four leg lines below the body, with small circles for the joints.
At this stage, focus on the leopard’s posture either sitting, walking, or lying down.
Step 2 Shape the Head and Face
Now add more detail to the head
-
Draw the jawline coming down from the head circle.
-
Add two triangular ears on top of the head, spaced apart.
-
Mark the eye line across the head and place a vertical line for nose placement.
-
Sketch the nose as a small rounded triangle in the center.
-
Draw guidelines for the eyes, cheeks, and mouth.
Keep the face rounded but strong to show the leopard’s power and intelligence.
Step 3 Refine the Body and Legs
Using the guidelines, start shaping the leopard’s muscular form
-
Smooth out the body with curved lines.
-
Draw the legs thicker, with gentle bends at the joints.
-
Sketch the paws as oval-like shapes with soft toes.
-
Add a long, curved tail extending from the rear.
Make sure the legs are proportional and the pose looks natural.
Step 4 Outline the Facial Features
Now focus on the facial expression
-
Add almond-shaped eyes along the eye line. Leave a small white spot to create a light reflection.
-
Draw the broad nose with nostrils and a line connecting it to the upper lip.
-
Sketch the mouth gently curved or slightly open.
-
Define the ears with soft inner fur detail.
Facial details give the Amur leopard its personality. Take your time here.
Step 5 Add the Fur Texture and Rosettes
Start bringing the leopard to life with texture
-
Use short, quick pencil strokes to suggest fur, especially around the neck, chest, and cheeks.
-
Sketch the spots and rosettes irregular black shapes with lighter centers.
-
Make the pattern denser on the sides and back, with fewer spots on the legs and belly.
-
Don’t worry about making each rosette perfect randomness adds realism.
This is where your drawing starts to look like an actual Amur leopard.
Step 6 Finalize the Outline
Once you’re happy with the sketch, go over the main lines with a pen
-
Outline the body, face, legs, and tail.
-
Keep the lines clean but slightly varied to maintain a natural look.
-
Don’t trace every fur line just the important outlines and details.
-
Let the ink dry, then gently erase the pencil underneath.
Now you have a clear, finished outline to color or shade.
Step 7 Add Shading or Color (Optional)
If you want to enhance your drawing
-
Use colored pencils to shade the golden-yellow fur and black rosettes.
-
Lightly shade the underside of the body with gray or light brown.
-
Add darker tones around the eyes and nose for depth.
-
You can also use graphite to create a black-and-white shaded version.
Layer your colors gradually, blending where needed for a soft effect.
Tips for Drawing a Realistic Amur Leopard
-
Study reference images for accuracy. Notice how the rosettes differ from other leopards.
-
Use a mirror or photo to check proportions.
-
Practice drawing smaller parts first like just the face or paw.
-
Work lightly in the beginning so you can easily adjust.
-
Observe wild cat anatomy to understand movement and balance.
The more you practice, the more confident you’ll become.
Common Mistakes to Avoid
-
Drawing symmetrical rosettes real spots are uneven and unique.
-
Forgetting muscle definition leopards are strong and agile, so show curves.
-
Over-outlining fur imply texture rather than drawing every strand.
-
Placing facial features too high or low use guides to keep them aligned.
Catch these early by reviewing your sketch step by step.
Drawing an Amur leopard can be both fun and rewarding. With its rare beauty and powerful appearance, it challenges your observation and drawing skills in the best way. By starting with basic shapes, refining structure, and adding texture, you can create a realistic and expressive piece of wildlife art.
Remember, every drawing is a learning experience. Whether your leopard looks fierce or peaceful, what matters is the effort and creativity you put into it. Keep practicing, study nature closely, and let each sketch bring you closer to your artistic goals.