How to Build a Handcar A DIY Guide to Constructing a Rail HandcarA handcar, sometimes known as a pump trolley or rail pushcart, is a manually operated vehicle that runs on railroad tracks. Historically used for railway maintenance, these rail vehicles are now popular among hobbyists, engineers, and enthusiasts interested in railroad history or building unique DIY transportation projects.
Building a handcar is a fun and challenging project that combines carpentry, metalwork, and mechanical skills. This guide will walk you through the basics of how to build a handcar, what tools and materials you’ll need, and important things to consider for safety and functionality.
What Is a Handcar?
A handcar is a small, human-powered rail vehicle that moves by pumping a handle up and down. It rides on railway tracks and typically has a flat wooden platform mounted on a metal frame with four flanged wheels. The pumping mechanism turns the wheels through a system of levers, gears, or cranks.
Handcars were widely used in the 19th and early 20th centuries for rail inspection and repairs. Today, they serve as nostalgic or educational tools and can be used on private tracks or as part of museum exhibits.
Materials and Tools You’ll Need
Before getting started, gather the essential materials and tools. You can adjust quantities depending on your design and scale, but here’s a general list
Materials
-
Steel angle bars or square tubing (for the frame)
-
Plywood or hardwood planks (for the platform)
-
Four flanged rail wheels (metal, suitable for your track size)
-
Axles and bearings
-
Handlebar and pivot mechanism
-
Bolts, nuts, washers, and metal fasteners
-
Chain or crank system (to transfer movement from the handle to the wheels)
-
Paint or rust-resistant coating (for protection)
Tools
-
Welder or metal cutting tools
-
Drill and drill bits
-
Wrenches and sockets
-
Saw (for cutting wood)
-
Measuring tape
-
Clamps
-
Level
-
Safety gear (gloves, goggles, ear protection)
Step-by-Step Instructions for Building a Handcar
Step 1 Design Your Handcar
Start by creating a detailed plan. Decide on
-
Track gauge (distance between rail wheels)
-
Platform size (usually 4-6 feet wide and 6-8 feet long)
-
Weight capacity
-
Number of passengers
Draw a simple blueprint or sketch including dimensions, wheel placement, and handle mechanism. Make sure your design fits the rail size you plan to use.
Step 2 Build the Frame
The frame serves as the base of the handcar and must be sturdy enough to hold the platform and passengers.
-
Cut your steel beams to length based on your design.
-
Weld the frame into a rectangular or square shape.
-
Ensure the corners are square and the structure is level.
-
Add crossbars for extra support if needed.
Once the metal frame is assembled, allow it to cool and apply anti-rust paint if necessary.
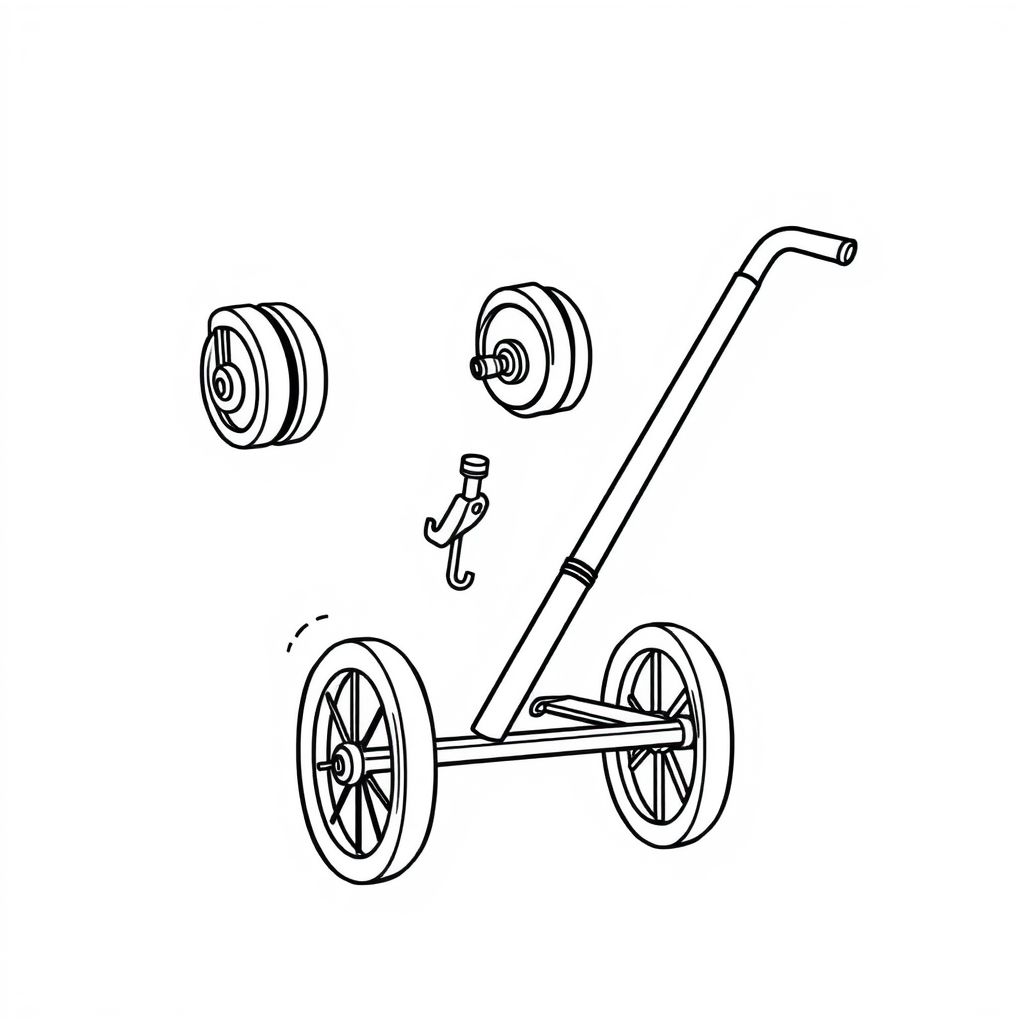
Step 3 Install the Wheels and Axles
The wheels must match your rail size and roll smoothly without derailing.
-
Mount the flanged wheels on axles.
-
Secure the axles to the frame using bearings and brackets.
-
Ensure the wheels are aligned properly so they sit squarely on the rails.
-
Check that the handcar rolls freely when pushed manually.
Test the wheel movement before attaching the rest of the components.
Step 4 Build the Platform
The platform gives passengers a surface to stand or sit on.
-
Use thick plywood or hardwood boards to build a sturdy deck.
-
Attach the platform securely to the frame using bolts or screws.
-
Leave an opening or mount area for the handle mechanism in the center.
-
You can add optional safety railings or side grips for added stability.
Make sure the platform surface is smooth and free of sharp edges or splinters.
Step 5 Construct the Pump Handle Mechanism
The handle is the most iconic part of a handcar and drives its motion.
-
Create a pivot point in the center of the platform using a metal rod and bearings.
-
Mount a handlebar across the pivot that can be pumped up and down.
-
Connect the handle to a crankshaft or gear system using a linkage.
-
Attach the crank system to one or both axles using a chain or belt.
As you pump the handle, the motion should rotate the wheels via the crank. Test and adjust the tension of the chain or belt to ensure smooth operation.
Step 6 Test and Fine-Tune the Mechanism
Before full use, perform several safety and function tests
-
Check that all bolts and fasteners are secure.
-
Test the pumping action while the handcar is on tracks.
-
Make adjustments to the crank length or gear ratio for easier operation.
-
Ensure the wheels track properly without jumping the rails.
If the handle is too hard to pump, adjust the pivot position or gearing. If the car rolls too slowly, reduce friction in the bearings.
Step 7 Add Final Touches
Now that the handcar is functional, you can enhance it with finishing details
-
Paint the wood and metal to protect against weather and wear.
-
Add reflective strips or signage for visibility if used outdoors.
-
Install a brake system or lever if needed for safety on sloped tracks.
-
Create seats or storage compartments depending on your intended use.
Keep safety in mind at all times. Only operate the handcar on safe, privately-owned tracks.
Safety Tips When Using a Handcar
-
Never use on active train tracks unless explicitly permitted and supervised.
-
Wear safety gear when testing or operating the handcar.
-
Inspect regularly for signs of wear or damage, especially in the crank and axle areas.
-
Limit passengers to the weight capacity of your frame and wheels.
-
Do not operate on steep grades without a working brake system.
Building a handcar is a unique project that blends engineering, history, and hands-on creativity. While it requires time, tools, and careful planning, the reward is a functioning piece of rail transportation that you can proudly say you built yourself. Whether for educational purposes, hobby use, or historical display, a handcar is a fascinating project for anyone who enjoys DIY mechanical builds.
Stay safe, follow your blueprint, and enjoy the ride!