How to Test Continuity with a Multimeter A Simple Step-by-Step GuideTesting continuity is one of the most basic but essential functions of a multimeter. Whether you’re a beginner or have some experience with electronics, knowing how to test continuity can help you quickly diagnose broken wires, faulty switches, or circuit problems. This topic explains the concept of continuity, how to perform a continuity test using a multimeter, and practical tips for accurate results.
What Is Continuity in Electrical Circuits?
Continuity refers to the presence of a complete path for current to flow in an electrical circuit. If a wire or circuit component allows electricity to pass without interruption, it is said to have continuity. On the other hand, if there is a break or fault, the continuity test will show no connection.
Testing continuity helps identify open circuits, short circuits, or faulty components like switches, fuses, and wires.
What Is a Multimeter and How Does It Test Continuity?
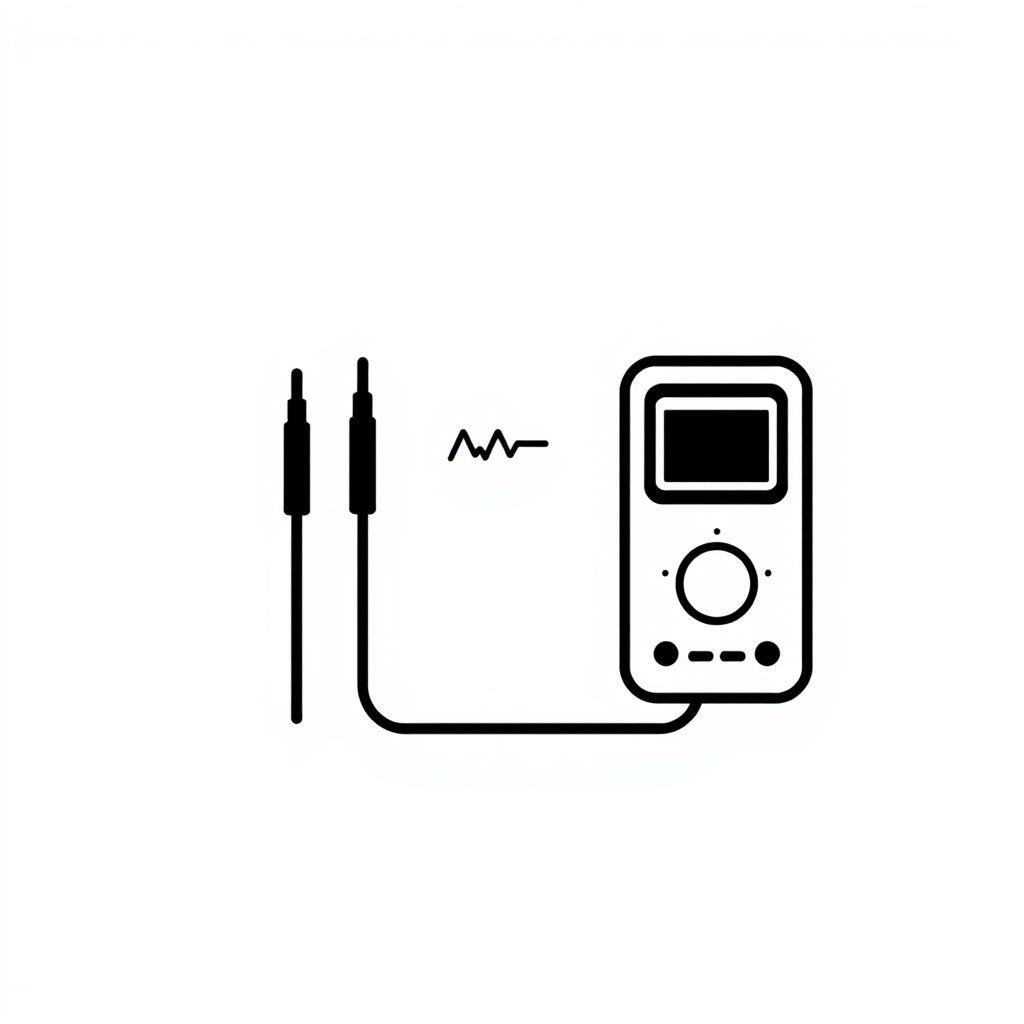
A multimeter is a versatile tool that can measure voltage, current, resistance, and continuity. When set to the continuity mode, the multimeter applies a small voltage between its probes and checks if current flows. If the circuit is complete, the multimeter beeps or displays a low resistance reading, indicating continuity.
Tools Needed for Continuity Testing
-
Digital or analog multimeter with continuity mode
-
Test leads or probes
-
The circuit or component to be tested
Step-by-Step Guide to Testing Continuity with a Multimeter
Step 1 Prepare Your Multimeter
Turn on your multimeter and set it to the continuity mode. This mode is often indicated by a symbol resembling a sound wave or diode. If your multimeter doesn’t have a dedicated continuity mode, use the resistance (ohms) setting instead.
Step 2 Test the Multimeter Probes
Before testing your circuit, touch the two probes together. The multimeter should beep or show a reading close to zero ohms, indicating the device is working correctly.
Step 3 Ensure the Circuit Is Powered Off
Safety first. Make sure the circuit or device you are testing is disconnected from any power source. Continuity tests should never be done on live circuits to avoid damage to your multimeter or injury.
Step 4 Connect the Probes to the Circuit or Component
Place one probe on one end of the wire, trace, or component and the other probe on the opposite end or terminal. Hold the probes steady to get an accurate reading.
Step 5 Observe the Multimeter Reading
If the circuit or component has continuity, the multimeter will beep or display a reading close to zero ohms. If there is no beep or the reading shows infinite resistance (often OL on digital multimeters), it means the circuit is open, and no continuity exists.
Common Applications of Continuity Testing
-
Checking wires Ensure cables or wires are not broken internally.
-
Testing switches Verify if a switch opens or closes the circuit correctly.
-
Verifying fuses Confirm whether a fuse is blown or intact.
-
Troubleshooting circuits Identify open or damaged parts in electrical circuits.
Tips for Accurate Continuity Testing
-
Make sure probes have good contact with the test points.
-
Remove components like capacitors or inductors from the circuit if they affect the reading.
-
Keep your hands steady or use clips to hold probes for consistent contact.
-
Check the battery of your multimeter if readings are inconsistent or weak.
Troubleshooting Common Issues in Continuity Testing
Sometimes, the multimeter may not beep even if you expect continuity. This can happen due to
-
Dirty or corroded test points
-
Loose probe connections
-
Faulty multimeter battery
-
Components in the circuit interfering with the test
Double-check connections and clean contact points if needed.
Safety Precautions When Testing Continuity
-
Always power off the device or circuit before testing.
-
Use insulated probes to avoid accidental shocks.
-
Handle your multimeter according to the manufacturer’s instructions.
Conclusion Why Continuity Testing Is Essential
Knowing how to test continuity with a multimeter is a fundamental skill for anyone working with electronics or electrical systems. It helps quickly identify wiring problems and faulty components, saving time and preventing costly repairs. With a few simple steps and precautions, you can use your multimeter to ensure circuits are complete and functioning properly.
Keywords test continuity with multimeter, continuity test, how to test continuity, multimeter continuity mode, electrical continuity test, continuity testing guide, troubleshooting electrical circuits, multimeter basics